A Complete Guide for Short-Term Rental Hosts and Property Owners
Professional photography is one of the most important investments you can make in your short-term rental. Strong, clean imagery increases clicks, builds trust, and supports higher nightly rates.
Preparation is what separates average photos from elevated, high-performing listing images.
This guide walks you through exactly how to prepare your property before your scheduled photoshoot.
The Photography Style: Bright, Refined, Natural
My approach is bright and airy with a clean, natural look.
Whenever strong natural light is available, interior lights remain off. This prevents color cast, keeps tones neutral, and creates a polished, high-end result.
The final images should feel calm, welcoming, and thoughtfully curated.
If you want your listing to stand out, working with an Airbnb & short-term rental photographer can make a big difference.
Part 1: Planning Before Shoot Day
Timing and Natural Light
Natural light changes throughout the day and dramatically affects the mood of a space. We schedule based on window direction and sun exposure to achieve the most flattering result.
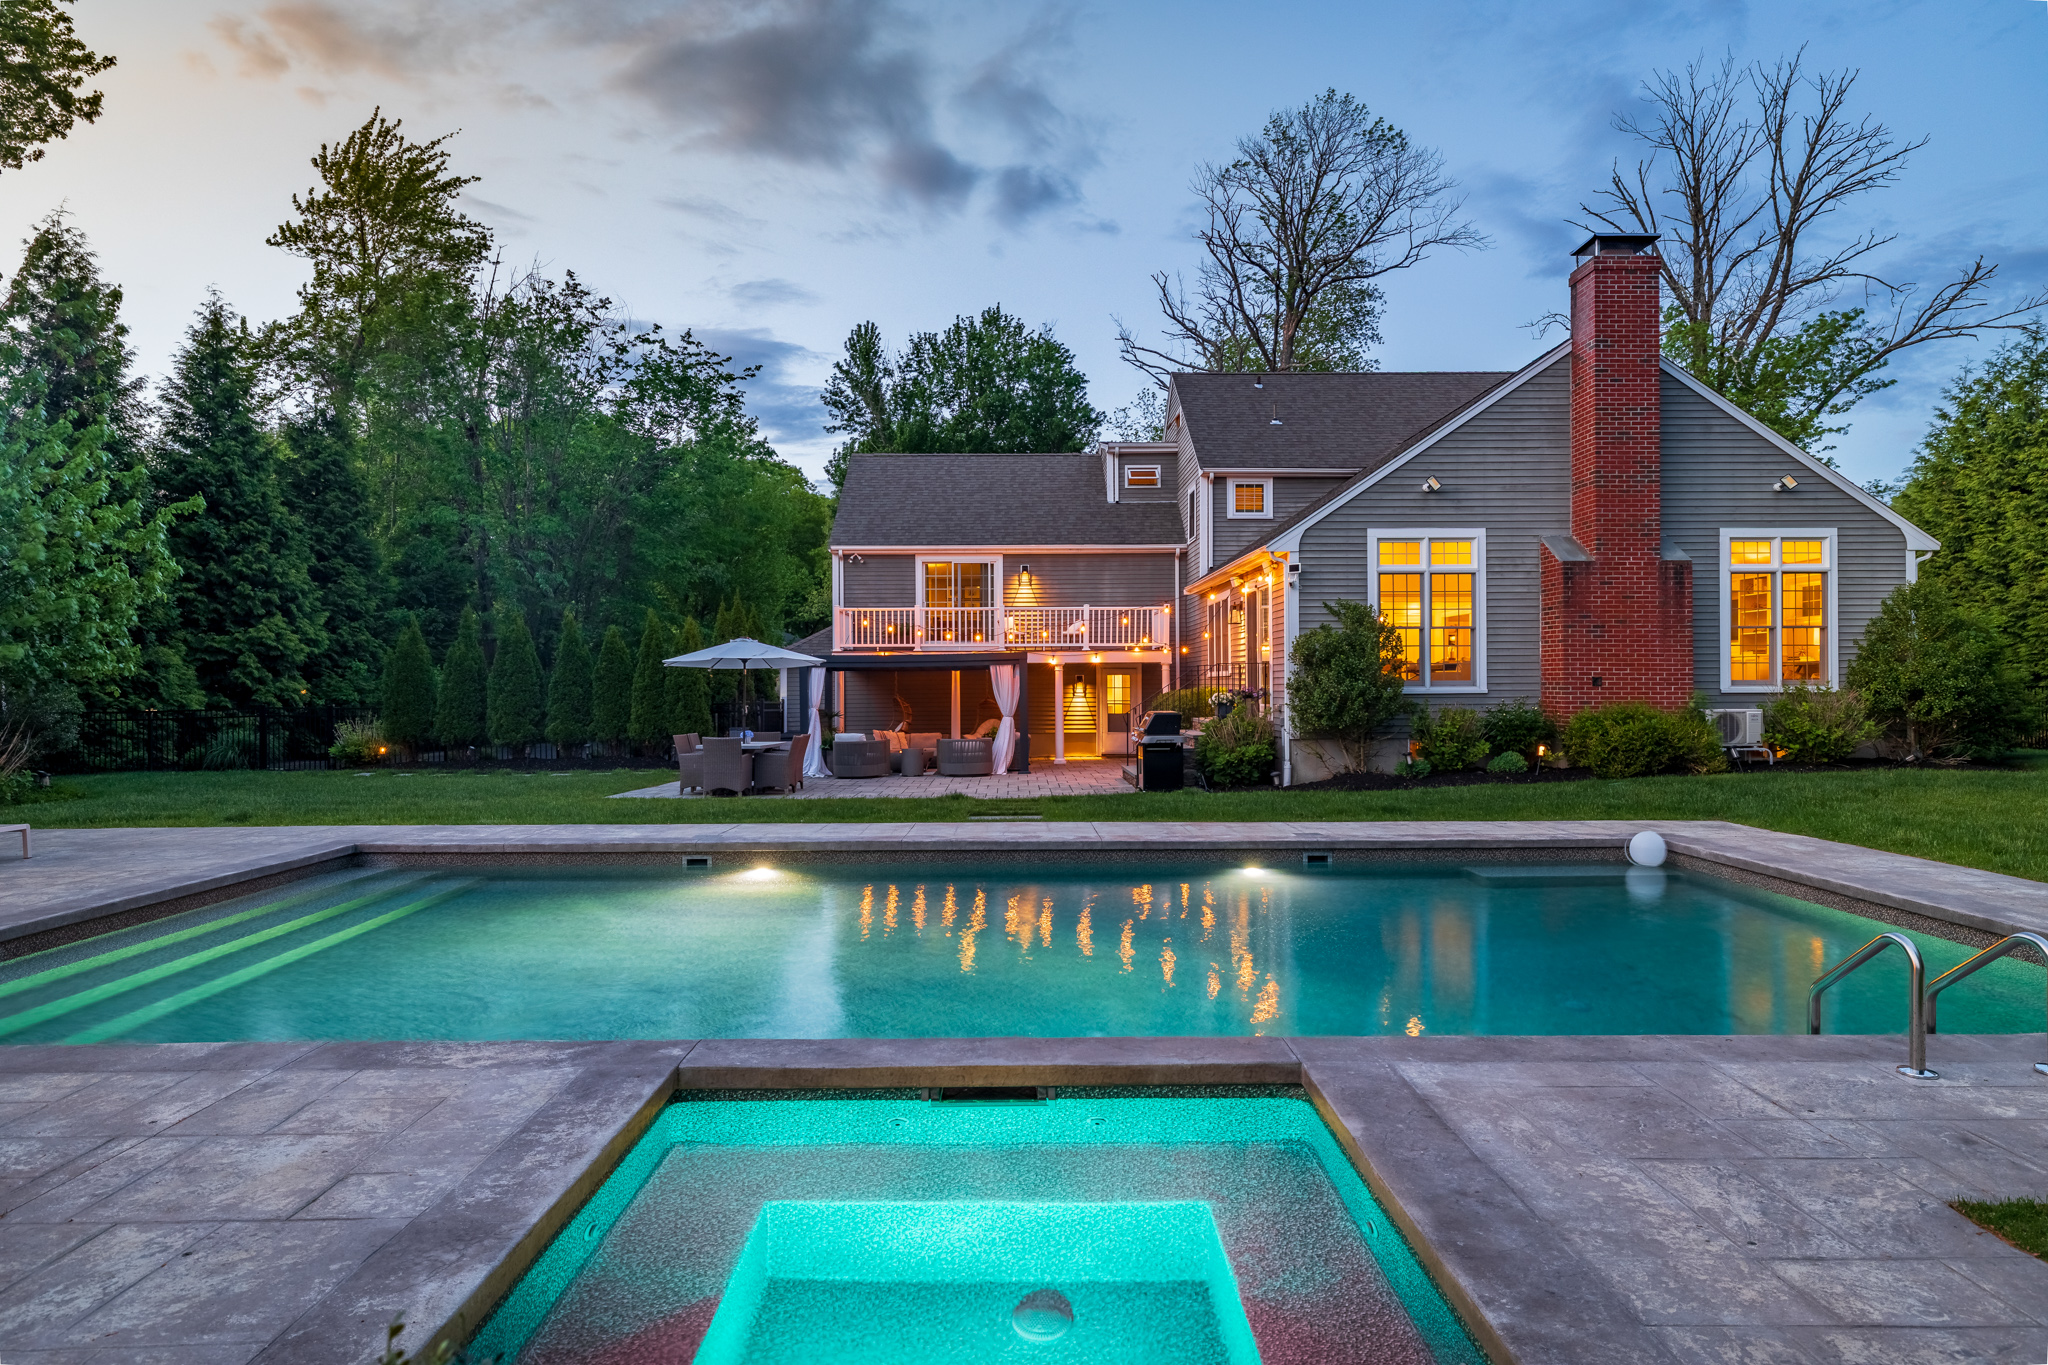
If you are interested in twilight photography or drone imagery, please confirm in advance so timing can be adjusted. These are available as add-on services.
Identify Key Features
If your rental has standout amenities, please share them beforehand:
- Fireplace
- Rooftop or deck
- Hot tub
- Designer kitchen
- Custom details
- Premium appliances
- Unique views
You do not need to suggest angles or compositions. I will handle the visual flow and balance.
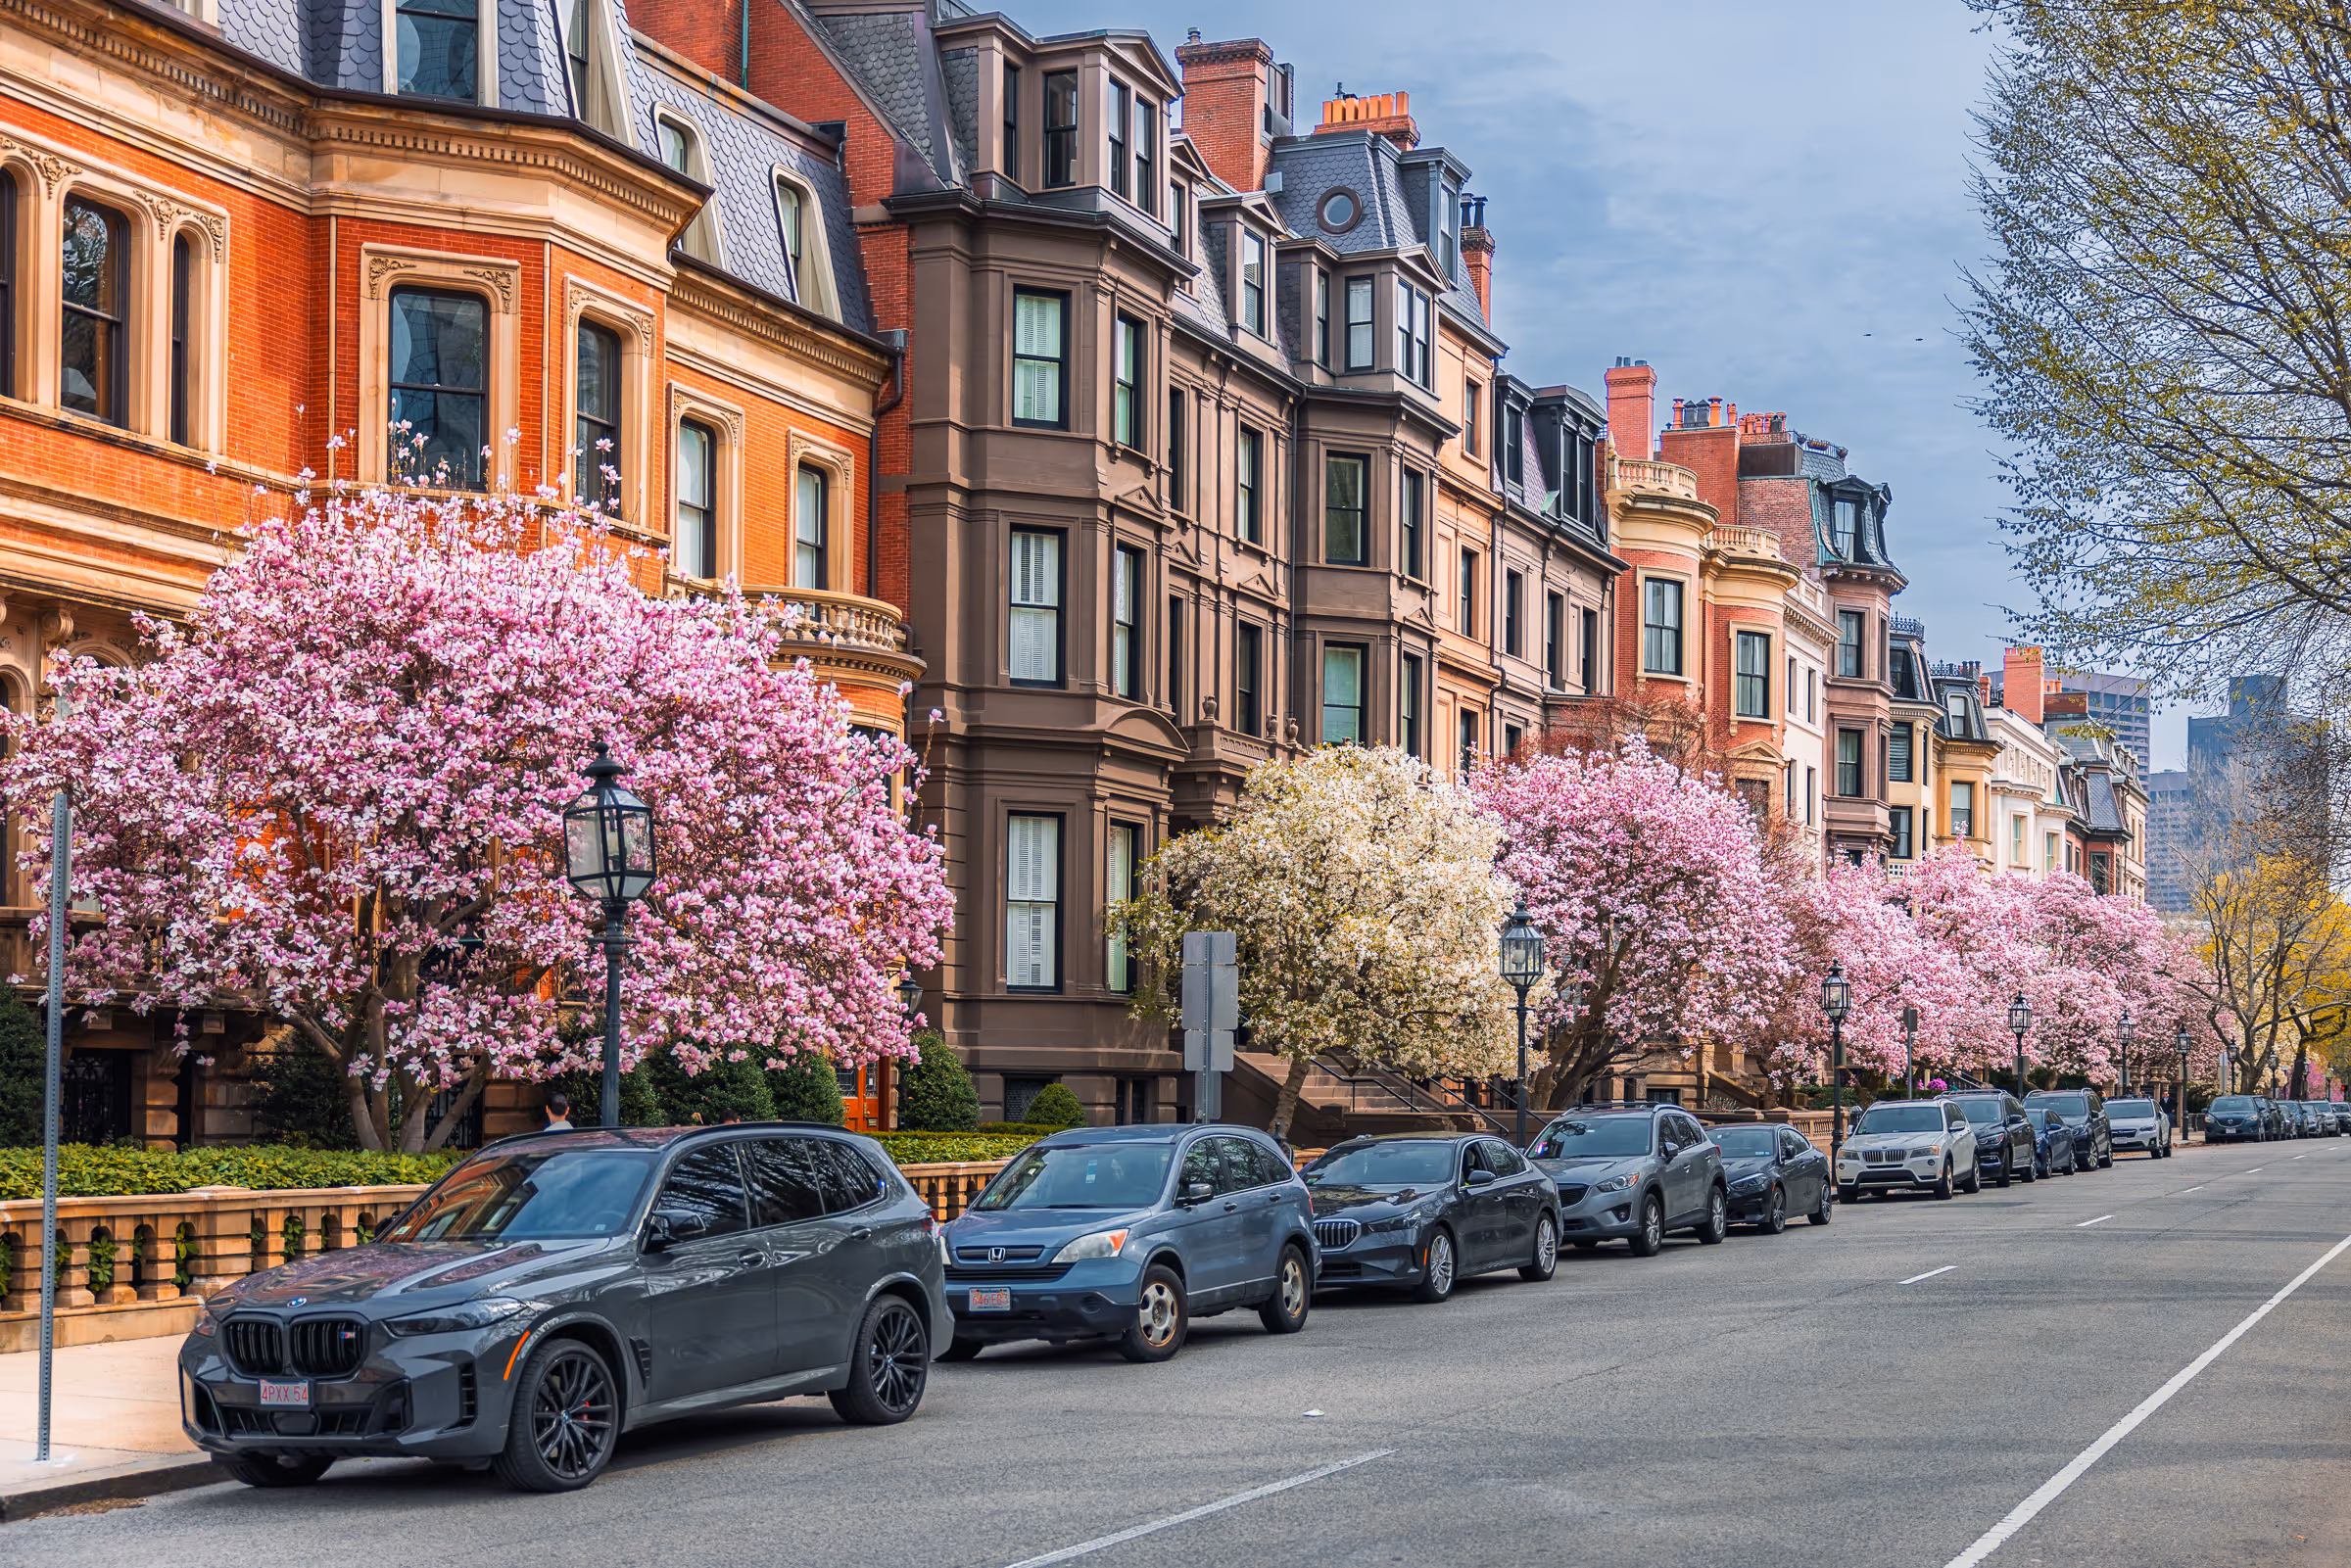
Parking and Exterior Prep
Exterior images are often your main listing photo.
Please ensure:
- No cars in driveway or in front of the property
- Trash bins are hidden
- Entry paths are swept
- Outdoor furniture is clean and aligned
First impressions matter.
Weather Considerations
Overcast conditions often photograph beautifully. Heavy rain or severe weather may require adjustment.
Part 2: Deep Cleaning to a High Standard
Photography reveals details that are easy to miss in person.
The space should feel like a boutique hotel, not a recently checked-out rental.
Please ensure:
- Floors are vacuumed and mopped
- Baseboards are cleaned
- Windows are cleaned inside and out
- Mirrors are streak-free
- Glass shower doors are polished
- Stainless steel appliances are fingerprint-free
- Sinks and tubs are spotless
If possible, steam bedding and curtains to remove wrinkles.
Part 3: Decluttering with Intention
Luxury photography is about restraint and clarity.
Remove:
- Trash cans
- Cleaning products
- Paper towels
- Air fresheners
- Cords and chargers
- Excess decor
- Extra toiletries
- Dish drying racks
When in doubt, simplify.
The space should feel open and calm.
Part 4: Remove Personal Items
Guests should be able to imagine themselves in the space.
Please remove:
- Personal photos
- Mail
- Paperwork
- Private documents
- Visible clothing in closets
We are creating a refined experience.
Part 5: Room-by-Room Preparation
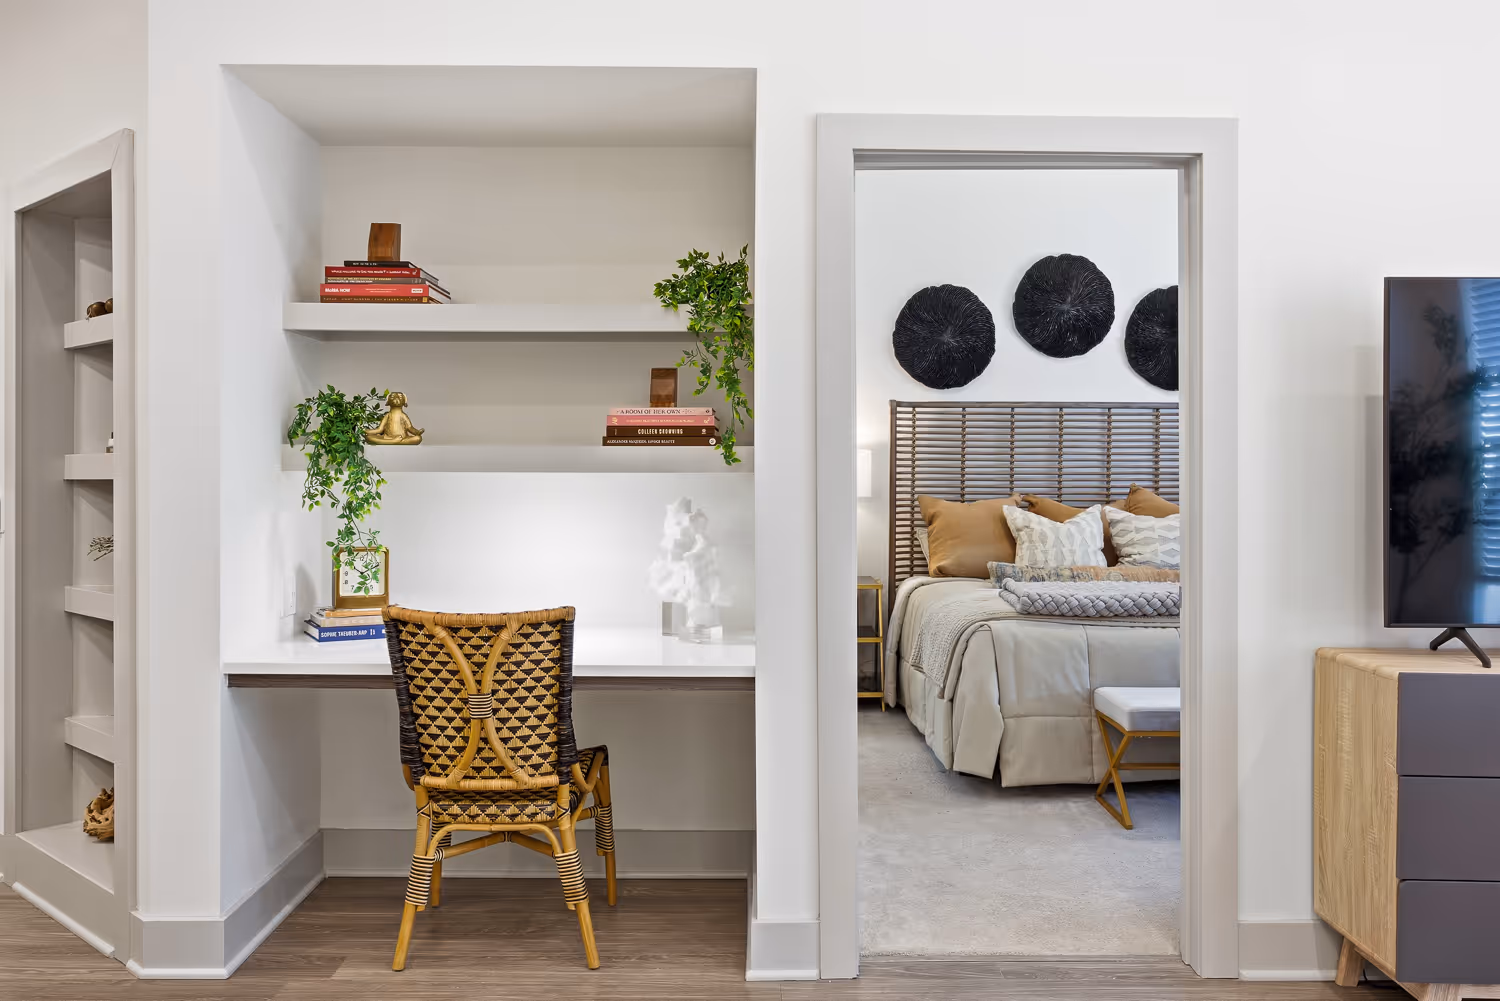
Bedrooms
- Use clean, wrinkle-free linens
- Steam duvet and pillowcases
- Fluff pillows evenly
- Remove stuffed animals
- Straighten bed skirt
- Clear nightstands of clutter
- Remove laundry baskets
Balanced styling feels intentional and polished.
Bathrooms
- Close toilet lid
- Hang fresh, neutral towels neatly
- Replace toilet paper roll
- Remove personal hygiene products
- Open shower curtains or doors
- Clean mirrors, glass, and chrome thoroughly
If premium amenities are offered, arrange them neatly.
Kitchen
- Clear countertops
- Hide dish soap and sponges
- Remove fridge magnets and papers
- Store visible food items
- Clean sink basin
- Align bar stools evenly
- Keep styling minimal and intentional
A simple coffee setup or high-end appliance can add warmth without clutter.
Living Areas
- Fluff pillows
- Smooth blankets
- Straighten rugs
- Align chairs evenly
- Clear coffee tables
- Open blinds and curtains fully
- Turn off ceiling fans
Natural light should flow freely.
Part 6: Lighting Strategy
For bright and airy results:
- Replace burned-out bulbs
- Use consistent bulb color temperature throughout the property
- Open blinds completely
- Keep interior lights off when strong natural light is present
Mixed warm and cool lighting creates uneven tones in photos.
Consistency elevates the final result.
Part 7: Outdoor Spaces
- Remove cars
- Hide trash bins
- Sweep patio and deck
- Remove pool cleaners
- Turn off sprinkler systems
- Clean outdoor furniture
- Remove BBQ covers
- Open umbrellas if styled and clean
Outdoor areas should feel like an extension of the interior experience.
Part 8: Shoot Day Expectations
- Shoots may take several hours depending on property size
- Minor furniture adjustments may be made
- Pets should be secured
- No cleaners or contractors onsite
- Property must be fully ready before arrival
Everything will be returned to its original placement.
Preparation directly impacts the final quality of your images.
Final Pre-Shoot Checklist
✔ Fully deep cleaned
✔ Decluttered
✔ Windows polished
✔ Beds steamed and styled
✔ Outdoor areas prepared
✔ Trash hidden
✔ Cars removed
✔ All bulbs working
If you are unsure about anything, feel free to reach out before the shoot.