The Real Estate Photo Checklist: How to Prepare Your Listing for Photos
Before I start any real estate photoshoot, I always tell clients one thing: preparation makes the biggest difference. A clean, staged home lets me focus on composition and light, not clutter or distractions. When clients follow my checklist, the session runs faster, smoother, and the photos always look better.
Why Prep Matters
A photoshoot is about showing your space at its best. The goal is to help buyers imagine themselves living there. Even small details like open blinds or straightened pillows can change how people feel about a home.
When I arrive at a house that’s already prepped, I can spend my time framing the right angles, adjusting the light, and finding the best moments. But when I have to move items or hide cords, it takes away from that creative focus. The homes that are ready always photograph better.
Exterior Prep Tips
The outside is the first thing people see, and first impressions matter. Before your shoot:
- Park vehicles on the street
- Hide garbage bins and garden tools
- Sweep the driveway, porch, and walkways
- Mow the lawn and trim any plants
- Arrange patio furniture neatly
- Put away toys, hoses, and pet items
If you can, water the lawn or plants right before I arrive. It gives the greenery a fresh, vibrant look that shows well in photos.
Interior Prep Tips
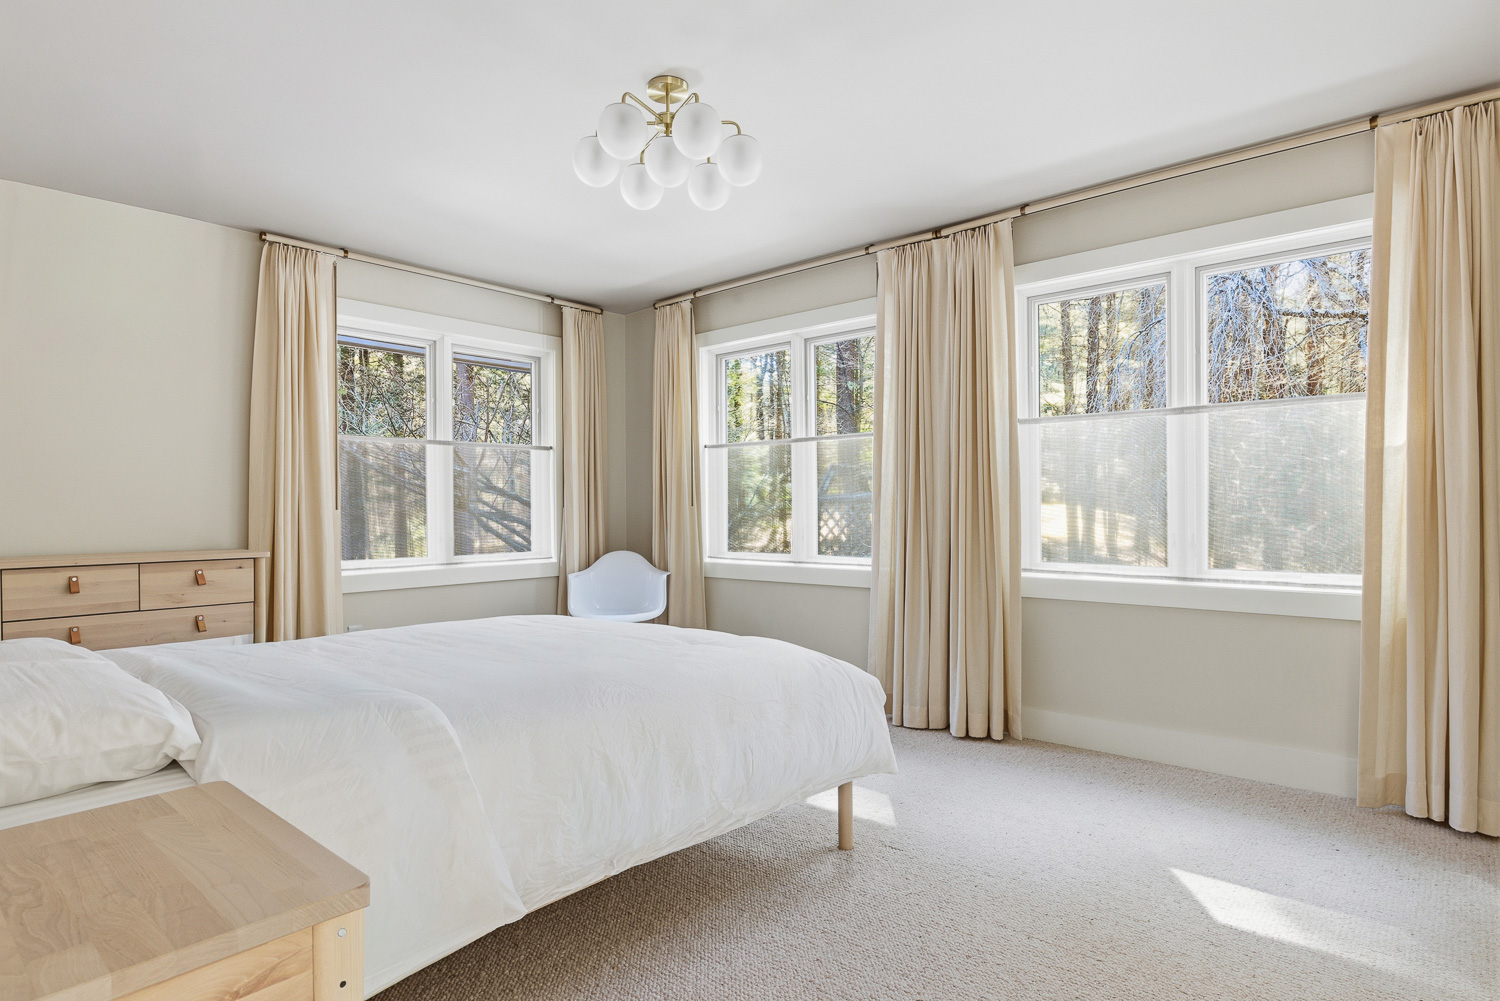
Inside, less is more. The cleaner and simpler the space, the more open and inviting it feels. Here’s what I always recommend:
- Sweep or vacuum floors and wipe surfaces
- Declutter countertops, nightstands, and bathroom vanities
- Make all the beds and fluff the pillows
- Remove personal items like toothbrushes or razors
- Put away small rugs and towels
- Hide trash cans and visible cords
- Turn on all lights and replace any burnt-out bulbs
- Open blinds to let in light but close them if the view is distracting
It’s all about balance. You want the space to look natural but not lived-in. A few clean details go a long way.
What I Handle on Site
Once I arrive, I’ll fine-tune a few things. I adjust the blinds, turn on extra lights if needed, and make sure the lighting feels balanced. I’ll close toilet lids, straighten chairs, and line up edges so everything looks neat.
What I don’t do is move furniture, clean, or rearrange items. That’s not to be picky—it’s to protect the home and keep the process smooth. I want the space to stay just as you like it, only captured in the best light possible.
A Real Example from My Work
I’ve photographed hundreds of homes around Boston and New England, and one thing always stands out. When homeowners or agents follow my prep checklist, I can get twice as many strong shots in the same amount of time.
There was one apartment where the agent followed every step: lights, staging, everything spotless. Because of that, I had time to experiment with creative angles and lighting. The final gallery looked polished and consistent, and the listing went live faster.
Another time, I arrived at a property that wasn’t ready. We lost nearly 30 minutes moving things around, and it limited what I could do. It’s a simple reminder that preparation makes all the difference.
Timing and Light
If you’re booking your session, think about natural light. Late morning or early afternoon usually works best for most homes, especially if there’s good window light.
Turn on every light in the house before I arrive, even lamps and under-cabinet lighting. It makes rooms feel warm and inviting.
And if your property has both indoor and outdoor spaces, try to make sure both are ready at the same time. That way, I can move smoothly between areas while the lighting stays consistent.
Final Thoughts
Following a simple checklist can completely change how your listing looks online. It saves time, builds trust with buyers, and helps your home stand out.
If you’d like a copy of my full prep guide, you can download my Real Estate Photography Checklist before your next shoot. Preparing your home the right way lets me do what I do best — capture its true beauty.


